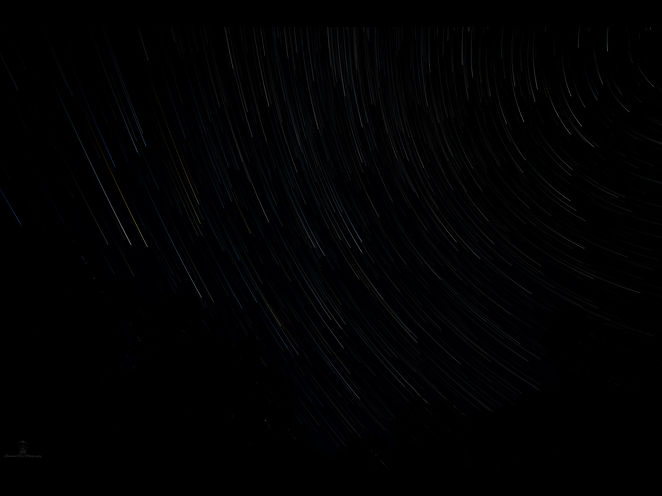

Happy Trails To You!
Star Trails, that is!
Several years ago, I learned how to make star trail photographs. They are still some of my favorite to make, and they are without a doubt, the most common image to attract attention among people that I know.

The method to creating star trails is not overly complicated; however, it can be very time consuming.
Below is a list of must-haves for getting succesful star trail images.
A good camera that has a built-in intervalometer, or an intervalometer application that is compatible with your camera
A bright night sky in a dark setting away from city lights
A sturdy tripod
Specific photo editing software, such as Photoshop or Star Stax
Patience and a good few hours of free time
I find that extra charged batteries and/or a portable charger are super helpful!
The direction that you face your camera towards will make a huge difference in the types of star trails that you will get!
The star trail above that I created was pointed North, which is why the North star is at the center.

I always shoot photographs using RAW and JPEG files. It takes up a lot more space, but I do find it very helpful when I want to put a star trail together quickly to see how it came out. I dabble between using Photoshop and Star Stax to create my final star trail, depending on how much editing is needed.
The length of the trails will depend on how many images you stack together in sequence. I usually aim for a minimum of 500 images, but that may be overkill to a lot of people, and it is just my preference. I like long, flowy trails, versus short, stubby trails.
Recently, I discovered that my GoPro Hero 13 takes very nice star trail videos.
Have a great day!
Comments